Vehicle Connector Pinout Guide for Fast Repair
A no-start, dead module, or intermittent sensor fault often comes down to one connector and one wrong assumption. A solid vehicle connector pinout guide cuts through that fast. When you know what each terminal does, what voltage should be present, and where the circuit goes next, you stop guessing and start testing.
For working techs and serious DIYers, pinout data is not extra reference material. It is the map that keeps you from backprobing the wrong cavity, loading the wrong circuit, or condemning a good module because a feed or ground was missing. The value is speed, but the bigger value is accuracy.
What a vehicle connector pinout guide actually gives you
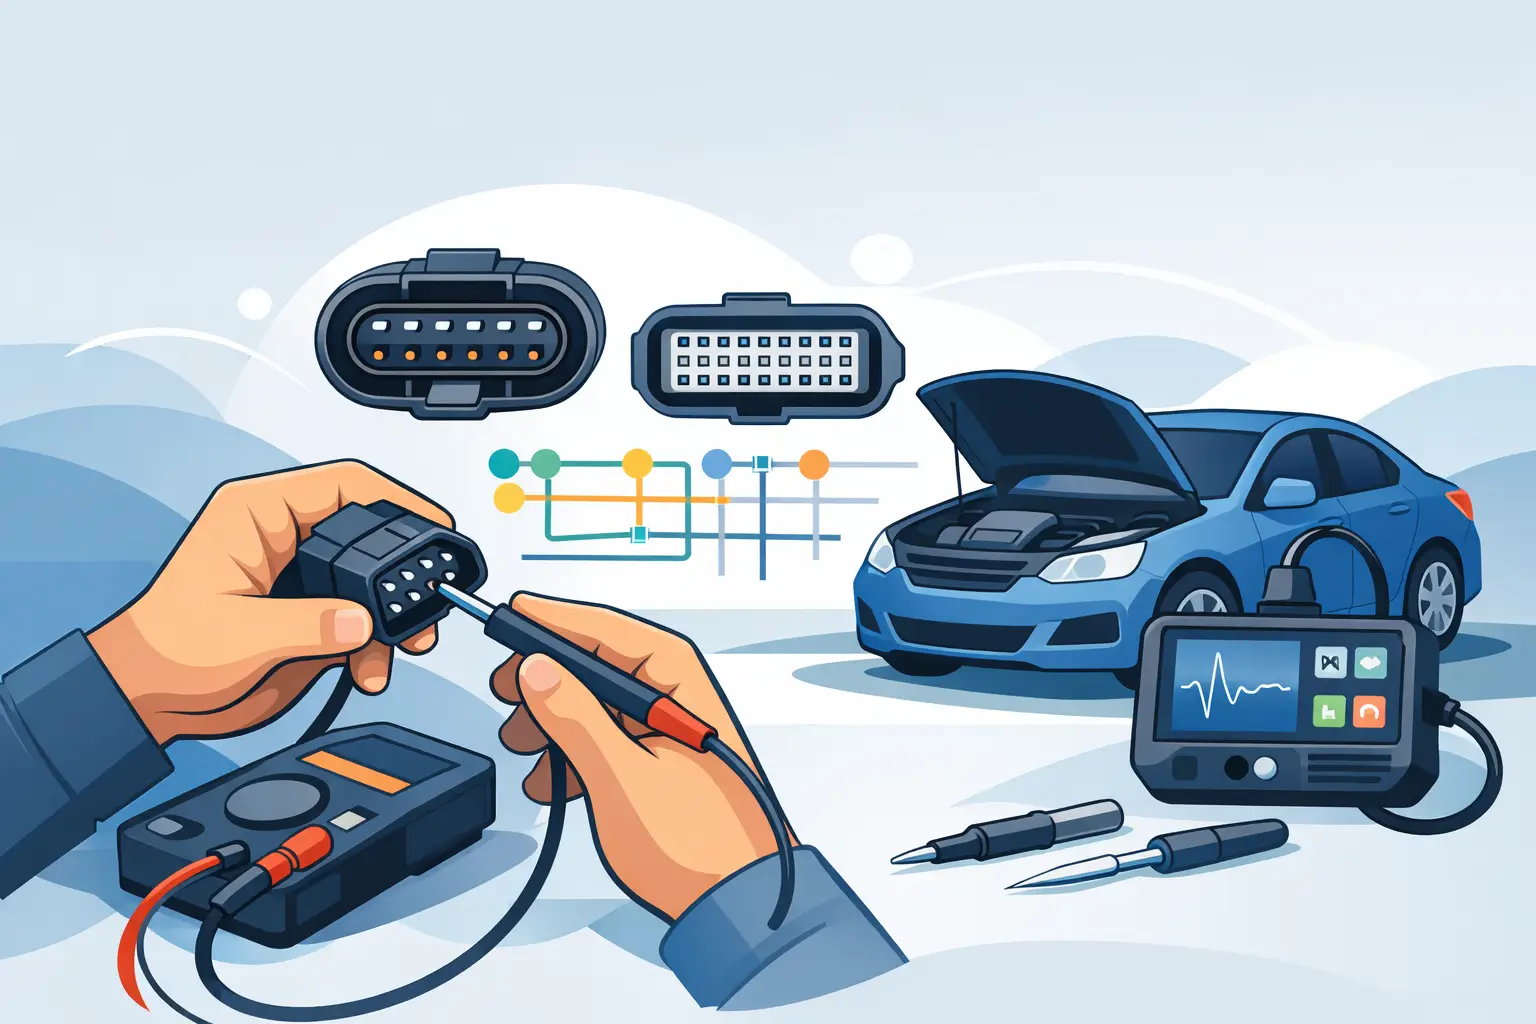
A connector pinout guide identifies each terminal in a connector and ties that terminal to a circuit function. In most cases, that means cavity number, wire color, circuit name, voltage or signal type, and destination. On better diagrams, it also shows connector face views, splice locations, ground points, and whether you are looking at the harness side or component side.
That last part matters more than many people expect. A lot of bad testing starts with viewing the connector from the wrong side. Pin 1 on the module face is not always where people think it is once the connector is unplugged and turned around in the hand. If the guide includes a clear face view, use it before the meter leads come out.
Pinout data is also how you separate circuit failure from component failure. If a throttle body has the correct 5-volt reference, the proper ground, and the expected command or feedback signal behavior, your next move is different than if one of those basics is missing. The pinout keeps the diagnosis tied to facts.
Why pinout accuracy matters in electrical diagnostics
Electrical repair gets expensive when the first replacement part does not fix the problem. That usually happens when a fault is diagnosed from symptoms instead of circuit data. A pinout gives structure to the test plan.
Take a module with four essential connections – battery feed, ignition feed, ground, and network line. Without the pinout, a technician may confirm power at the fuse and assume the module is supplied. With the pinout, the tech verifies power at the exact terminal under actual load conditions. That is a different standard of proof.
It also helps with newer vehicles where multiple systems share reference voltages, grounds, and communication lines. One shorted sensor can pull down a shared circuit and trigger faults across unrelated systems. A generic code scan will not explain that. A pinout and wiring diagram will.
There is a trade-off, though. Pinouts are only as useful as the vehicle match. A connector layout can change by engine option, trim, production date, or module supplier. Getting close is not good enough. You need documentation that matches the exact vehicle application whenever possible.
How to read connector pinouts without wasting time
Start with connector identification. Make sure the connector code in the diagram matches the physical connector on the vehicle. Similar housings can sit inches apart, especially around underhood fuse blocks, ABS units, and transmission mechatronics.
Next, confirm orientation. Check whether the diagram shows the front view, terminal side, wire side, or component side. If there is a locking tab, keyway, or cavity marker shown, use it to anchor the view before you identify pins.
Then match cavity number to circuit function. Do not rely on wire color alone. Wire colors can fade, repairs may have changed them, and some manufacturers reuse color combinations across neighboring circuits. The cavity number is the safer reference.
After that, look at the circuit type. A battery feed should behave differently than a 5-volt reference, PWM control line, LIN bus, CAN high, or sensor ground. The pinout tells you what kind of signal you are dealing with, which determines whether a test light, DVOM, scope, or load test is appropriate.
The tests that pinout data supports
The most basic use is power and ground verification. That sounds simple, but a lot of faults hide behind weak voltage supply or high resistance on the ground side. If the pinout shows two grounds, test both. If it shows a constant B+ and a switched ignition feed, verify each under the right key state.
Pinout information also supports signal tracing. If a crank sensor signal leaves on one terminal and arrives at the PCM on another connector pin, you can isolate where the loss occurs. If continuity is good but the waveform is bad, you know the problem is not just an open circuit.
For network diagnostics, pinout guides are essential. CAN circuits, for example, require knowing the correct module pins before checking bias voltage, resistance, or waveform integrity. Guessing on data lines is a fast way to create more problems.
They are also useful for component activation and bypass testing, but this is where judgment matters. Jumping terminals or powering circuits directly can damage modules if the pinout is read incorrectly or if the circuit has internal electronics you are bypassing. The guide helps, but it does not replace safe test procedure.
Common mistakes when using a vehicle connector pinout guide
The biggest mistake is assuming all models in a brand family share the same connector layout. They often do not. Mid-year changes, engine swaps, optional equipment, and market differences can all alter cavity assignments.
The next mistake is confusing wire side with terminal side. This is especially common on tight connectors where the face view in the document looks reversed compared with the connector in hand. Slow down here. Ten extra seconds checking orientation can save an hour of bad diagnosis.
Another common miss is testing for voltage with no load and calling the circuit good. Corrosion, partial breaks, and heat-damaged wires can show near battery voltage until the circuit is asked to carry current. A pinout tells you where to test, but the method still matters.
There is also the habit of using color as the main identifier. That works until it does not. Factory repairs, aftermarket alarms, remote starts, previous splices, and age can make color-based diagnosis unreliable.
When a basic pin chart is not enough
A pin chart helps with quick checks, but some jobs need more context. If you are chasing an intermittent short, module wake-up issue, or communication fault, you usually need the full wiring diagram around that connector. That includes splice packs, shared grounds, branch circuits, fuse protection, and connector-to-connector routing.
For chassis and body systems, context matters even more. A door module fault may involve latch inputs, window motor outputs, mirror control, memory positions, and network communication in the same connector group. A simple cavity list will not show how those functions interact.
This is where vehicle-specific downloadable repair documents save time. Instead of patching together generic connector views from multiple sources, you get the actual wiring and pinout data tied to the vehicle you are servicing. That is usually the difference between proving a fault and chasing one.
Choosing the right documentation for the job
If the job is electrical, choose documentation that includes connector face views, wiring diagrams, ground distribution, splice information, and component locations. A pinout by itself is useful, but it is stronger when paired with the rest of the circuit path.
Coverage also matters. Shops working across Ford, GM, Toyota, Honda, BMW, Mercedes-Benz, Volkswagen, and other brands need a source that supports make-specific differences without forcing a subscription you barely use. Fast access to the right document is part of the repair process.
AutoCarData fits that workflow because the focus is direct – buy and download the exact technical information needed for the vehicle in front of you. If the problem is buried in a connector, having immediate access to the correct pinout and wiring documentation is often what gets the car out of the bay.
A practical workflow for pinout-based diagnosis
Start with the complaint and scan data, but do not stop there. Pull the correct connector pinout for the affected component or module. Verify connector ID and orientation before any test.
Then check powers and grounds first. If those are missing or weak, fix that before evaluating signals. After that, move to the input or output circuits related to the symptom. Compare expected values with actual readings at the exact terminals shown in the documentation.
If the circuit tests good at the component but not at the control module, trace the path between the two using the full wiring information. If the circuit is good end to end and the command or response is still wrong, only then does module or component replacement start to make sense.
That sequence is not flashy, but it is how accurate electrical repair gets done. The connector pinout is not just reference material sitting off to the side. It is the point where the diagram meets the meter and where diagnosis stops being a guess. Get the right pinout first, and the rest of the job usually gets shorter.