How to Fix Wiring Faults in a Vehicle
A blown fuse that comes back, a sensor code that refuses to clear, or a no-start with good battery voltage usually points to the same place – the wiring. If you need to know how to fix wiring faults, the fastest path is not replacing parts. It is isolating the circuit, reading the correct diagram, and testing the fault under real operating conditions.
How to fix wiring faults without wasting time
Most electrical repairs go sideways for one reason: the circuit is not identified correctly before testing starts. On modern vehicles, one symptom can involve multiple modules, shared grounds, splice packs, fuse feeds, and networked control. A bad actuator can look like a wiring problem, and a wiring problem can look like a failed module.
That is why the first step is always to define the fault by symptom, not by guess. Is the issue constant or intermittent? Does it happen hot, cold, under load, with vibration, or only after rain? Does it affect one component or several on the same branch? Those answers determine whether you are chasing an open, a short to ground, a short to power, high resistance, poor terminal tension, or a bad ground path.
A wiring fault is rarely fixed at the point where the symptom shows up. A dead fuel pump circuit, for example, may trace back to a corroded ground, a damaged harness near a bracket, or a spread terminal at the relay box. The repair only gets efficient when the circuit path is mapped before the harness is opened.
Start with the right information
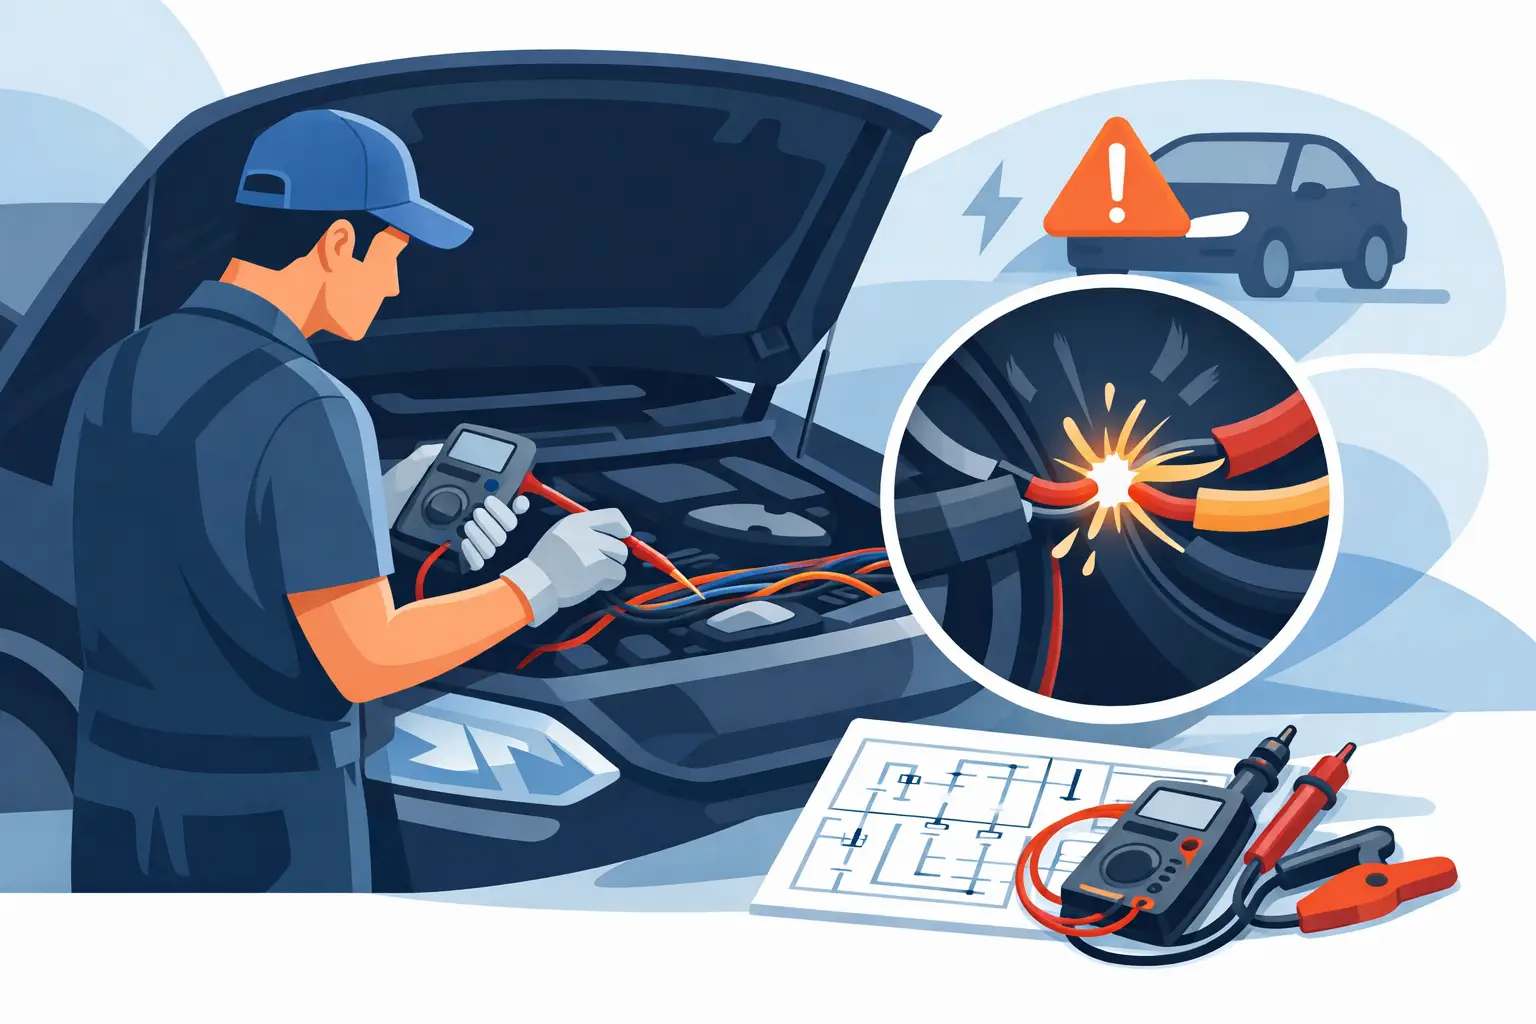
If you are working without the exact wiring diagram for the vehicle, engine, trim level, and system variant, you are guessing. Wire color alone is not enough. Connector views matter. Ground locations matter. Splice locations matter. Pin numbers matter even more when circuit colors change through intermediate connectors.
A proper diagram lets you see the full current path from power source to load to ground, including control side inputs and module involvement. It also shows where to test without tearing the entire car apart. For independent shops and advanced DIY users, having make-specific downloadable schematics cuts hours out of electrical diagnosis because you can go straight to the known connector, fuse, splice, or grounding point.
Before touching the harness, verify the complaint and pull all related fault codes. Freeze frame data can help, especially on intermittent voltage supply or reference circuit issues. If a module reports low input voltage, open circuit, or short to ground, that is useful direction. It is not proof of the failed point.
The fastest diagnostic sequence
When technicians ask how to fix wiring faults, what they usually need is a repeatable order of operations. The order matters because random testing creates bad conclusions.
1. Confirm power, ground, and load
Start at the affected component. Check whether it has correct power supply, known good ground, and a functioning load or command. If power is missing, move upstream. If ground is weak, test the voltage drop on the ground side. If both are present but the component does not operate, then the issue may not be wiring at all.
A test light still has value here because it loads the circuit. A digital multimeter can show voltage that collapses under load, especially in corroded wires or poor terminal contact. If you see battery voltage with a meter but the component will not run, load the circuit before you call it good.
2. Check voltage drop, not just continuity
Continuity tests are useful on disconnected circuits, but they can mislead. A wire with only a few strands left may still pass continuity and fail under load. A corroded ground eyelet may ohm out acceptably and still create major voltage loss in operation.
Voltage drop testing finds resistance where the circuit is actually failing. On the power side, excessive drop means restriction between source and load. On the ground side, excessive drop means resistance between component ground and battery negative or chassis ground. This is one of the most direct ways to find wiring faults that look fine visually.
3. Isolate sections of the circuit
If the fault is between point A and point D, do not unwrap the whole harness first. Split the circuit at connectors B and C and test each section. This cuts the problem area in half each time. It is the quickest way to locate opens, shorts, and high-resistance sections in long harness runs.
This matters even more on vehicles where the harness passes through doors, trunk lids, liftgates, firewall grommets, seat tracks, and engine movement points. Those are common failure zones, but you still want proof before repair.
Common wiring faults and what they usually look like
An open circuit usually shows up as a dead component, missing signal, or reference voltage that never reaches the sensor or actuator. The break may be inside insulation, near a bend point, or at a terminal crimp. Wiggle testing can help if the fault is intermittent, but only if the circuit is monitored during the test.
A short to ground often blows fuses, pulls a signal low, or disables a module output. If the fuse only blows when the harness moves or when the vehicle hits bumps, suspect chafing against metal brackets, heat shields, or body seams.
A short to power can backfeed another circuit and create strange behavior, such as lamps glowing dimly, modules staying awake, or sensors reporting impossible values. These faults often take longer because the symptom appears far from the contact point.
High resistance is one of the most misdiagnosed faults. It causes slow motors, dim lights, false sensor readings, communication issues, and heat at connectors. Corrosion, partial wire breaks, overheated terminals, and poor previous repairs are typical causes.
Bad grounds can affect multiple systems at once. If unrelated faults appear together, especially after body work, engine replacement, water intrusion, or battery service, inspect shared grounds early.
How to fix wiring faults the right way
Once the fault is found, the repair has to match the failure mode and harness location. Twisting wires together and taping them is not a repair. Neither is stabbing random bypass wires into a connector and sending the car out.
Repairing broken or damaged wire
If the wire is broken, cut back to clean copper on both sides. If corrosion has traveled under the insulation, keep trimming until the conductor is bright and intact. Use the correct wire gauge and insulation type for the circuit and environment. Engine bay and underbody repairs need materials that can handle heat, abrasion, and moisture.
A proper splice should be mechanically sound, electrically stable, and sealed against future contamination. Heat-shrink sealed repairs are usually the baseline. On some circuits, especially CAN, LIN, shielded cable, airbag, or low-voltage reference circuits, repair methods are more sensitive. In those cases, exact documentation matters because wire length, twist rate, and splice location can affect performance.
Repairing terminals and connectors
A lot of wiring faults are terminal faults, not wire faults. Loose female terminals, backed-out pins, overheated connector cavities, and green corrosion inside sealed connectors are common. If terminal tension is weak, the connection may fail only with vibration or current load.
Replace damaged terminals with the correct type and use the proper crimp tool. If the connector body is heat-damaged or no longer locks securely, replace the housing too. Cleaning a burned terminal and pushing it back together usually creates a comeback.
Repairing shorts caused by harness routing
If a wire chafed through once, ask why. The root cause may be a missing retainer, broken clip, incorrect prior routing, engine movement, or contact with aftermarket equipment. Repair the wire, then restore the harness path and protection. Loom, tape, edge protection, and retainers are part of the repair, not extras.
When the fault is intermittent
Intermittent electrical faults waste the most time because the circuit may test fine while parked. If the issue only appears during vibration, heat soak, steering movement, suspension travel, or moisture exposure, your test setup has to reproduce that condition.
Use live data, a scope, or meter monitoring while moving the harness, loading the circuit, or heating and cooling suspect areas carefully. Intermittents often come from fractured conductors inside insulation, marginal terminal contact, or moisture intrusion that changes with temperature.
This is where accurate vehicle-specific diagrams pay for themselves. If you know every branch, splice, and ground in the affected circuit, you can narrow the test area instead of chasing the whole harness.
What not to do
Do not start by replacing modules because communication or actuator codes are present. Do not rely on wire color alone. Do not trust continuity testing as the final answer on a loaded circuit. Do not leave unsupported repairs in high-movement areas. And do not ignore previous aftermarket alarm, radio, remote start, trailer wiring, or lighting work. Those repairs are frequent sources of electrical faults.
If you need exact circuit paths, connector IDs, pinouts, and splice locations before opening the harness, AutoCarData provides downloadable wiring documentation built for real repair work. Getting the correct schematic first usually costs less than one wrong part.
The cleanest electrical repair is the one that restores the circuit to normal operation and gives the fault no reason to come back.